Third-Grade Maths on a 3D Printer: Measuring, Layers and Multiplication
A 3D printer can turn familiar maths into something a child can see and touch. For families exploring 3d printing for kids in Palos Verdes or Los Angeles, one finished print can become a lesson about measurement, multiplication, fractions, science, and problem-solving.
The main lesson is simple: estimate first, measure after, and use the result to check your thinking.
Measure the print and the print bed
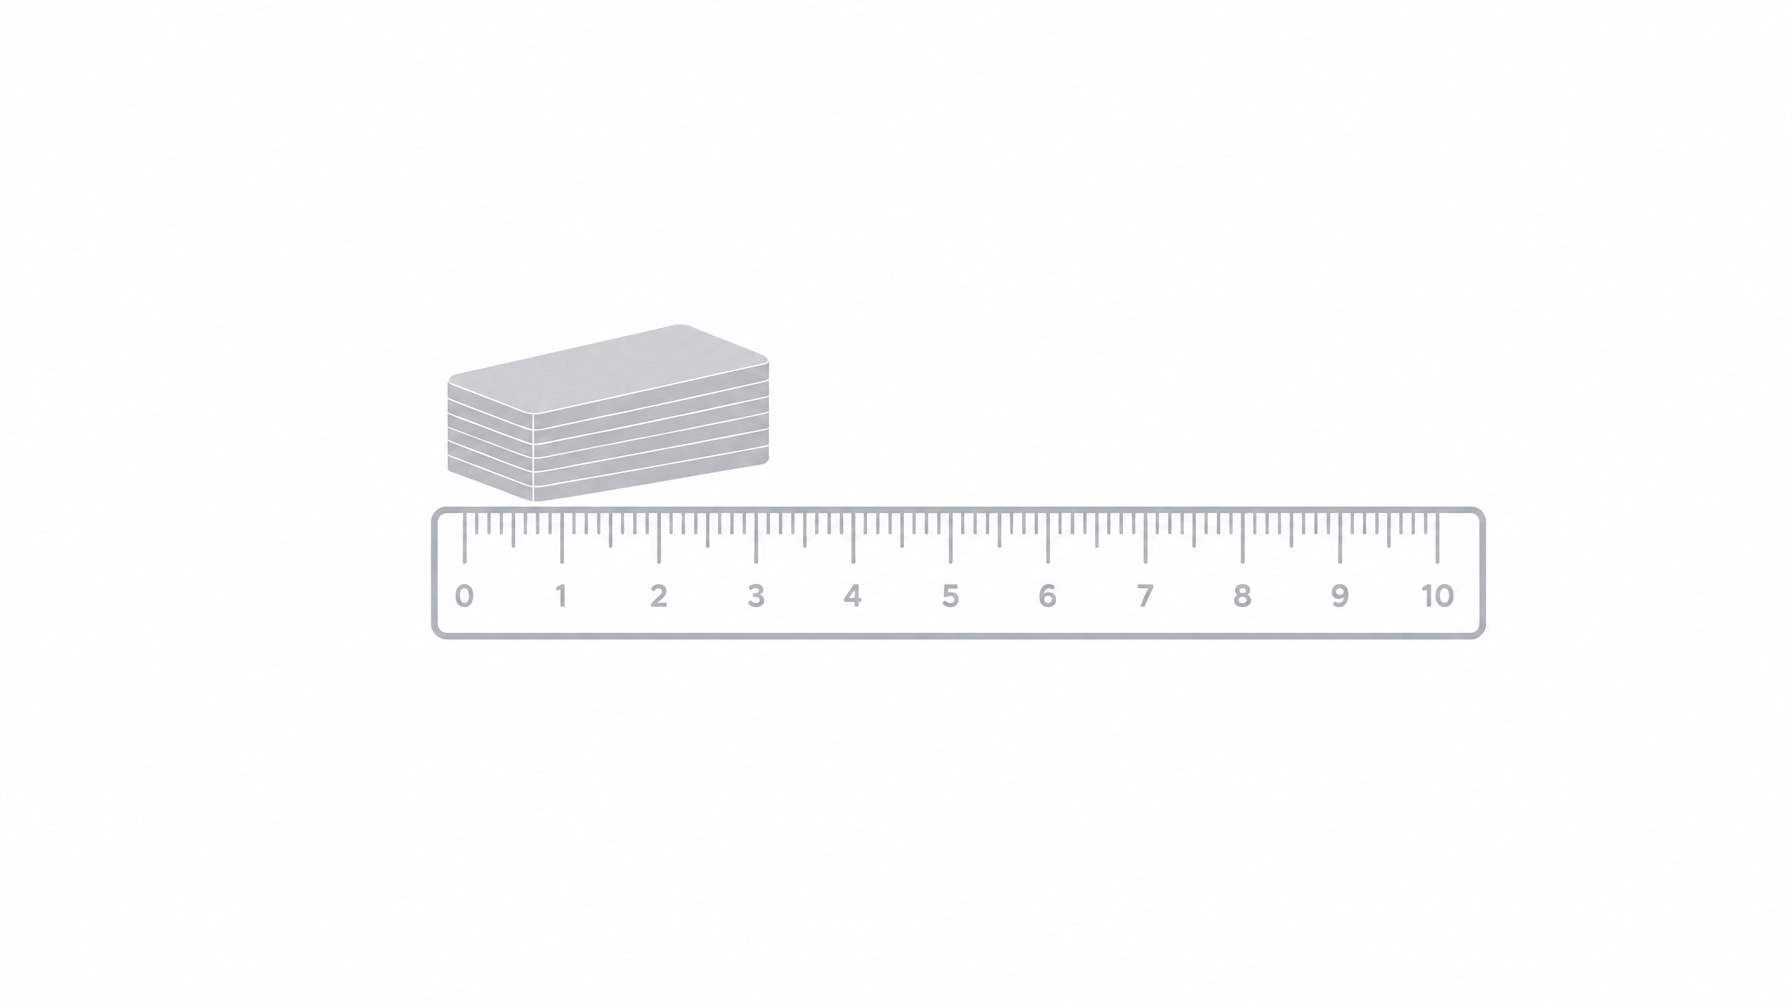
Give your child a ruler marked in millimetres and centimetres. Measure a flat print’s length and width. If it is 6 centimetres long and 4 centimetres wide:
- Perimeter: 6 + 4 + 6 + 4 = 20 centimetres
- Area: 6 × 4 = 24 square centimetres
The same idea works with the printer’s bed. If the bed is 20 centimetres by 20 centimetres, its perimeter is 80 centimetres and its area is 400 square centimetres.

A child can also explore fractions. Fold or mark a paper square into four equal parts. Each part is one quarter. Two parts are one half, and three parts are three quarters. An adult can show how a flat print might fit in one quarter of the bed or compare a smaller version with a larger version.
Count layers as repeated addition
A printer builds an object by stacking thin layers. An adult controls the slicer and printer, then shares a small settings table:
| Setting | Example |
|---|---|
| Layer height | 0.2 mm |
| Number of layers | 50 |
| Estimated height | 10 mm |
| Estimated print time | 2 hours 47 minutes |
| Filament estimate | 1.8 metres |
The layer calculation is:
0.2 mm × 50 layers = about 10 mm
For a third grader, this can be explained as equal groups: 50 layers, each 0.2 millimetres tall. The child can also read place value in 1.8 metres and round 2 hours 47 minutes to about 3 hours.

Notice heat and strength
Filament begins as a solid. Heat makes it soft enough to move through the nozzle. As it cools, it becomes solid again. This is an observation about what happens during printing, not a reason for children to touch the printer. An adult should handle the hot parts.
A finished shape also invites questions about forces. Does a small bridge-shaped print hold a light object? Does it bend, stay still, or break? Measure and observe safely; one test does not prove that every print will hold the same weight.

Try it together
Place a finished print on paper. Before measuring, have your child guess its length, width, and height. Mark the guesses. Then use the ruler to measure in centimetres and millimetres. Compare the estimate with the result and talk about which guess was closest.
That small activity captures the value of 3d printing kids fun and 3d printing hobbies for kids: school ideas become real objects, and careful measuring helps improve thinking. Explore more practical learning ideas on the Lucas Gorgan blog.