How Lucas Prints His Own Sports Gear: 3D Printing for Young Athletes
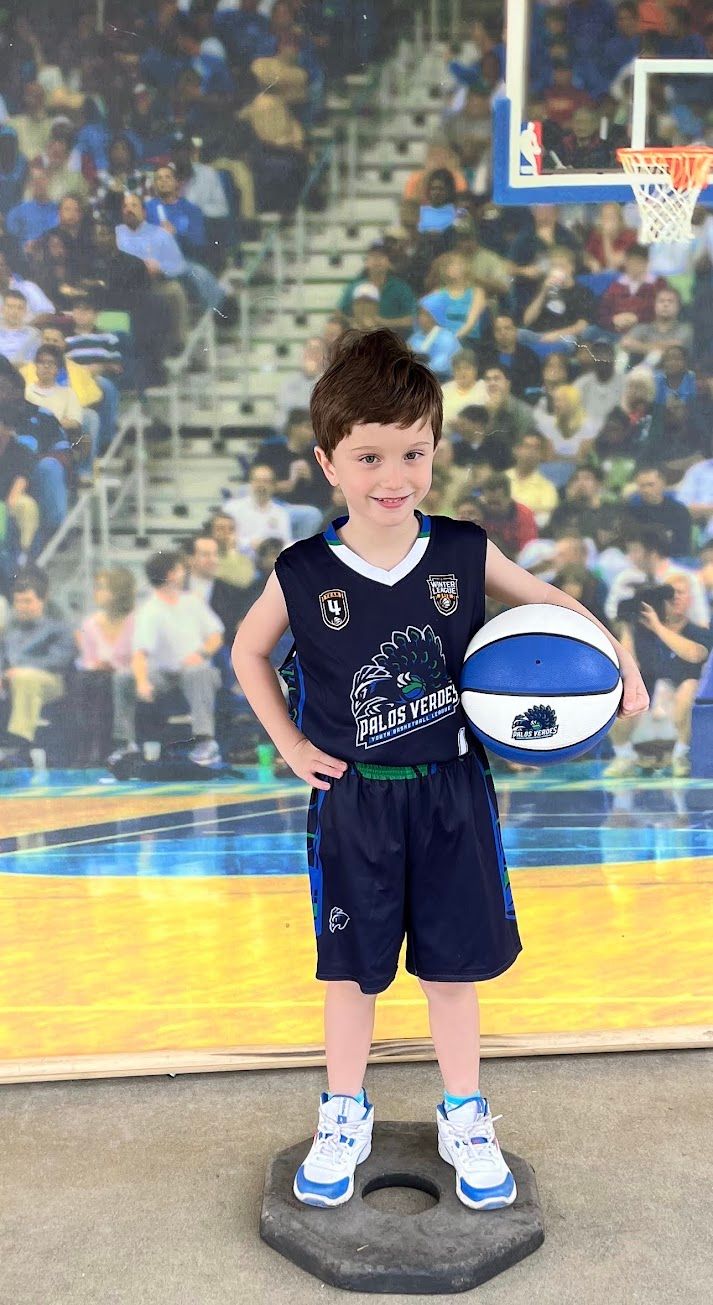
At nine years old, Lucas has discovered that his 3D printer can do more than make toys and decorations. It can also help him enjoy his favorite sports in new ways.
Lucas likes to sketch an idea, adjust it on the computer, print a first version, and then test how it works. Sometimes the result is useful on the field. Other times, it becomes a lesson about measurements, strong materials, or why a design needs another revision.
That combination of movement and making is what makes 3D printing for kids so exciting. A young athlete does not have to choose between playing sports and building things. With adult supervision, the two interests can work together.
Lucas starts with small, useful accessories
Lucas does not begin by trying to print an entire basketball, soccer cleat, or helmet. He starts with simple accessories that are easy to personalize and low-risk to use.
Some of his favorite project ideas include:
- A name tag for his sports bag
- A clip for organizing equipment
- A small stand for displaying a ball or medal
- A custom number or team-color keychain
- A holder for a phone, stopwatch, or water bottle
- A training marker or cone base
- A grip-sized handle for practice equipment
These projects are ideal for 3d printing kids fun because they produce something children can use almost immediately. Lucas can add his name, favorite color, jersey number, or a simple team symbol. He can also make a second version when the first one is too large, too small, or not strong enough.
The goal is not to create a perfect object on the first attempt. The goal is to learn how design and real-world use affect one another.
From an idea to a printed sports accessory
Lucas follows a simple design process whenever he creates a new project.
1. Choose a problem to solve
Before opening design software, Lucas asks what would make sports practice easier or more enjoyable.
For example, equipment can be difficult to organize in a sports bag. A small clip or hook might keep straps, cables, or accessories in place. A ball stand could help him display a favorite ball in his room. A custom marker could make backyard drills more interesting.
Starting with a real problem gives the project a clear purpose.
2. Measure carefully
A printed part needs to fit the object it is meant to hold. Lucas uses a ruler or measuring tape, with an adult’s help, to check the width of a bottle, the diameter of a ball, or the size of a handle.
He then adds a little extra space where needed. If a holder is exactly the same size as the object inside it, the fit may be too tight. If it is too loose, the object could fall out.
This is one of the most valuable lessons in 3D printing hobbies for kids: small changes in a digital design can make a big difference in the finished part.
3. Add personal details
Once the basic shape works, Lucas makes the design his own. He might add his name, a number, or a pattern inspired by his favorite sport.
Personalization is one of the main reasons sports manufacturers use 3D printing. According to Dassault Systèmes’ overview of 3D printing in sports, the technology allows equipment and accessories to be modified for fit, comfort, weight, and appearance.
Lucas is working with much simpler tools, but the basic idea is similar: design something for a particular person instead of making one identical object for everyone.
4. Print, test, and improve
The first print is often a prototype. Lucas checks whether it fits, feels comfortable, and performs its job.
If a clip breaks, he might make it thicker. If a holder wobbles, he may widen the base. If a nameplate is difficult to read, he can increase the size of the letters.
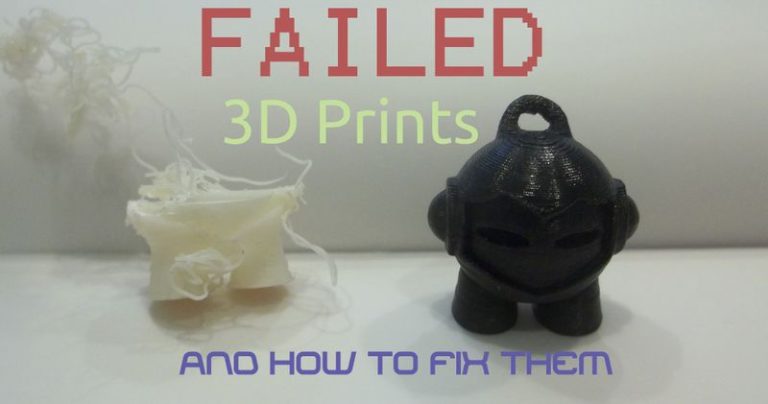
This print-test-improve cycle teaches patience and problem-solving. It also shows Lucas that a failed print is not necessarily a failure. It may simply be useful information for the next version.

Sports projects Lucas can try
Different sports inspire different designs. Lucas can adapt a project to match the equipment he already uses.
Soccer and field sports
For soccer practice, Lucas could design:
- A personalized ball display stand
- Marker bases for backyard drills
- A small goalpost model
- A name tag for a sports bag
- A storage hook for shin guards or training accessories
A printed marker base could make practice more engaging. Lucas might print several colors and create a course that requires dribbling, passing, or changing direction.
He should not use a home-printed item as a replacement for certified protective equipment. Shin guards, helmets, face protection, and other impact-protection products need professional materials, testing, and standards. A printed nameplate or storage accessory is a much safer project.
Basketball
Basketball projects can focus on organization and practice. Lucas might print:
- A ball stand
- A small scoreboard
- A wall hook for a bag
- A clip for holding a practice checklist
- A display plaque for a favorite team or player
A scoreboard can turn a driveway game into a mini tournament. Lucas could design numbers that slide, rotate, or snap into place. The project would combine sports, geometry, and simple mechanical design.
Cycling and outdoor activities
For cycling or outdoor play, Lucas might design a small accessory such as a bag tag, cable organizer, or non-critical phone mount for supervised recreational use.
A 3D-printing project about cycling should always be approached carefully. Parts that hold a rider’s weight, control steering, or affect braking should not be replaced with an untested home print. Lucas can focus on items that organize or decorate his equipment instead.

Learning about strength and materials
Sports accessories need to be strong enough for their intended use. Lucas is learning that not every filament behaves in the same way.
For a basic display stand or nameplate, a standard PLA filament may be suitable. For an accessory that needs more flexibility or resistance to impact, an adult may choose another material, such as PETG or TPU, depending on the printer and the project.
Print settings matter too. More walls, a stronger orientation, or additional infill can change how a part performs. However, a stronger print is not automatically safe for every purpose. A home printer cannot turn an untested design into certified protective equipment.
That is why Lucas treats his prints as accessories, prototypes, and training aids: not as substitutes for approved helmets, pads, guards, or other safety equipment.
Safety comes before every print
Because Lucas is nine, an adult remains involved whenever the printer is operating.
The CDC’s NIOSH guidance on 3D printing explains that printers can involve hot surfaces, moving parts, particles, and chemical emissions. A safer setup includes good ventilation, appropriate barriers, and supervision.
Lucas follows a few straightforward rules:
- He never touches the nozzle or heated bed.
- He keeps his hands away from moving parts.
- He does not run the printer alone.
- He waits for an adult to remove a finished print.
- He wears no loose clothing or jewelry near the machine.
- He washes his hands after handling prints.
- He does not use resin printers or uncured resin without qualified adult supervision.
- He checks prints for sharp edges, cracks, and loose pieces before using them.
An adult also checks whether a printed object is appropriate for sports. If it could break, snag clothing, injure another player, or interfere with certified equipment, it should not be used during a game.

Why this is more than a fun project
Lucas’s sports prints give him a reason to practice several important skills:
- Measurement: How large should a holder or clip be?
- Geometry: Which shapes make a stand stable?
- Design: How can an object be both useful and attractive?
- Iteration: What should change after the first test?
- Communication: Can he explain how the item works?
- Responsibility: Is the object safe for its intended use?
These are valuable lessons because they connect digital creativity to physical activity. Lucas is not only watching a printer make an object. He is learning how ideas become products through planning, testing, and improvement.
That is the real appeal of 3d printing for kids. A child can take an interest in sports, combine it with creativity, and build something personal. The finished item might be a simple clip or stand, but the process encourages curiosity and confidence.
Lucas’s next sports-printing challenge
Lucas’s next project could be a small set of personalized training markers. He could design three shapes, print them in different colors, and create a backyard course for dribbling, footwork, or throwing practice.
The project would be simple enough to manage, but still open to improvement. Are the markers easy to see? Do they stay in place? Are they large enough not to become a tripping hazard? Can Lucas redesign them to use less material?
That is how sports and making keep working together. Every practice session can inspire a new idea, and every new print can teach Lucas something about the way he plays.
For young athletes, 3D printing is not about replacing professional sports equipment. It is about making sports more personal, exploring how things work, and discovering that creativity belongs on the field, in the workshop, and everywhere in between.